Tutorial
Build contact form with Nextjs and Sendgrid
by Hafizul Hassan
July 4th 2021

In this tutorial, we will build the contact form using Nextjs and integration with Sendgrid Email Api. We will go through each step by details.
Requirement
Before begin, these are the requirements that you need to have:
- Nodejs - Make sure Nodejs is already installed in your computer
- Nextjs
- TailwindCSS
- Sendgrid account
But don't worry we will go step-by-step with details.
Setup Nextjs
- Go to your project directory. Using your terminal, create a contact-form project by using this command.
npx create-next-app contact-form
# or
yarn create next-app contact-form
- Once the project is created, go inside your contact-form directory by using cd contact-form and run this command:
npm run dev
# or
yarn dev
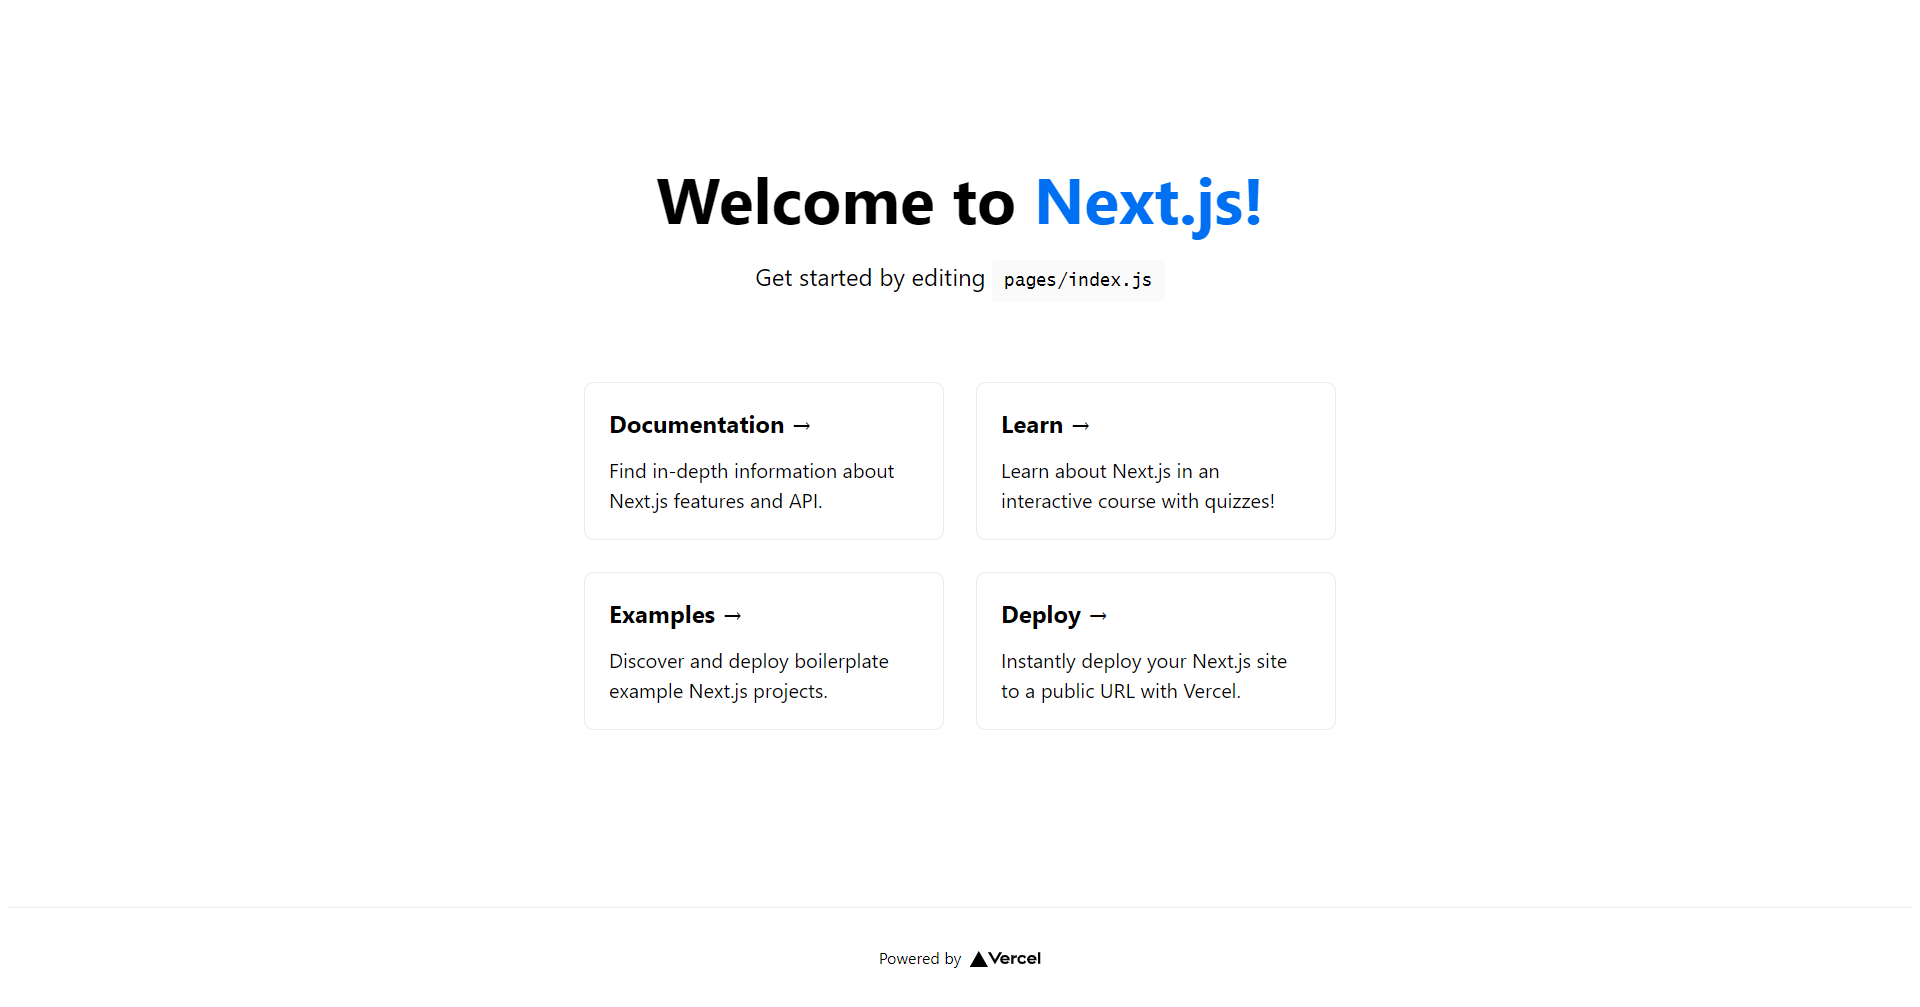
- Open your browser and go to localhost:3000. You will see the default homepage of Nextjs.
Setup TailwindCSS
- Now, let's setup the TailwindCSS to style our contact form. In your contact-form directory, install TailwindCSS using this command:
npm install -D tailwindcss@latest postcss@latest autoprefixer@latest
# or
yarn add -D tailwindcss@latest postcss@latest autoprefixer@latest
- Next, we will generate the configuration files for TailwindCSS. This will generate two files in our contact-form directory which are tailwind.config.js and postcss.config.js
npx tailwindcss init -p
- Open your code editor and open the tailwind.config.js. For mine, I used VSCode.
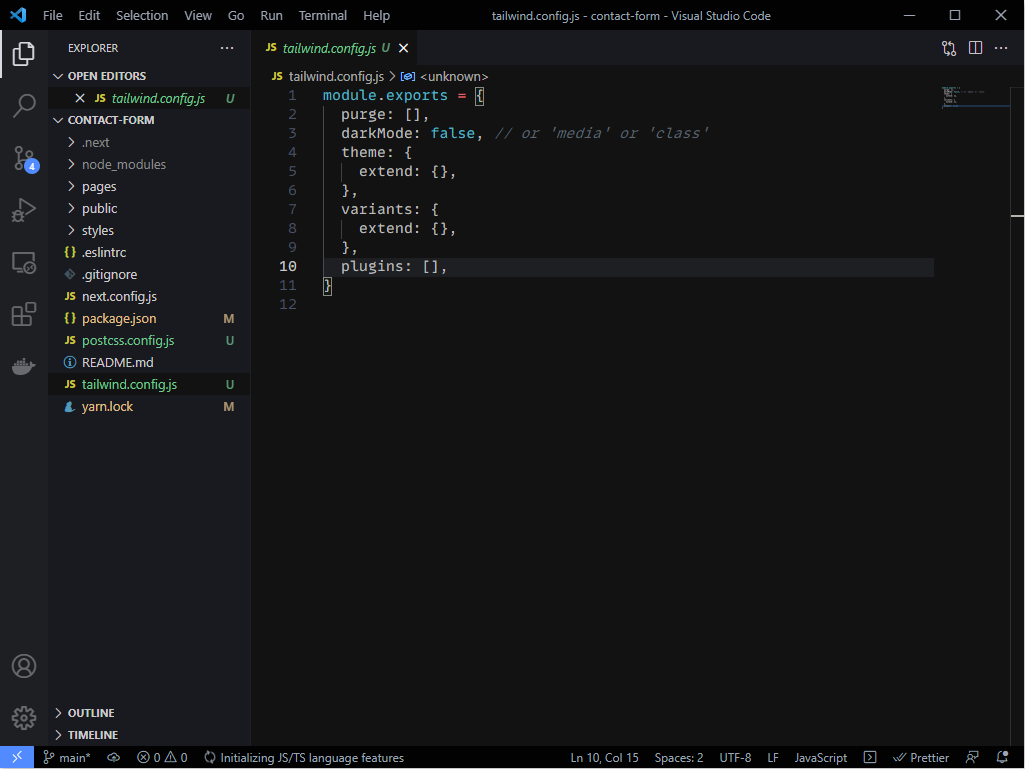
- Replace this code
purge: [],
with this
mode:'jit',
purge: ['./pages/**/*.{js,ts,jsx,tsx}', './components/**/*.{js,ts,jsx,tsx}'],
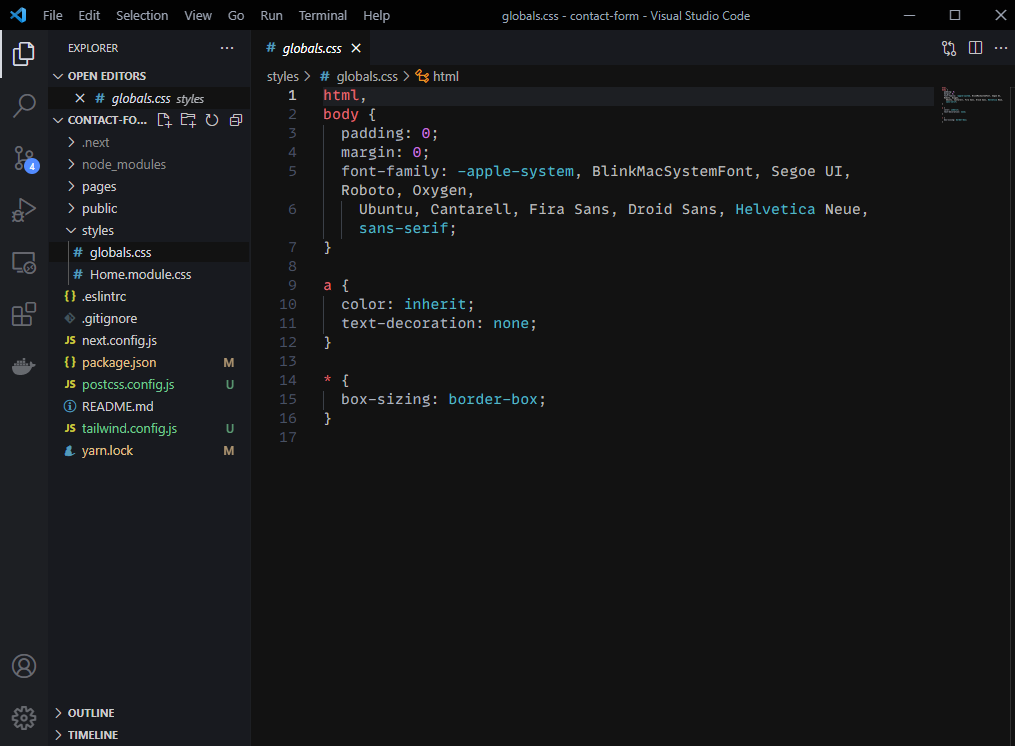
- Next, we will include the TailwindCSS in our CSS. Open your globals.css in the styles directory and replace and the code with this.
@tailwind base;
@tailwind components;
@tailwind utilities;
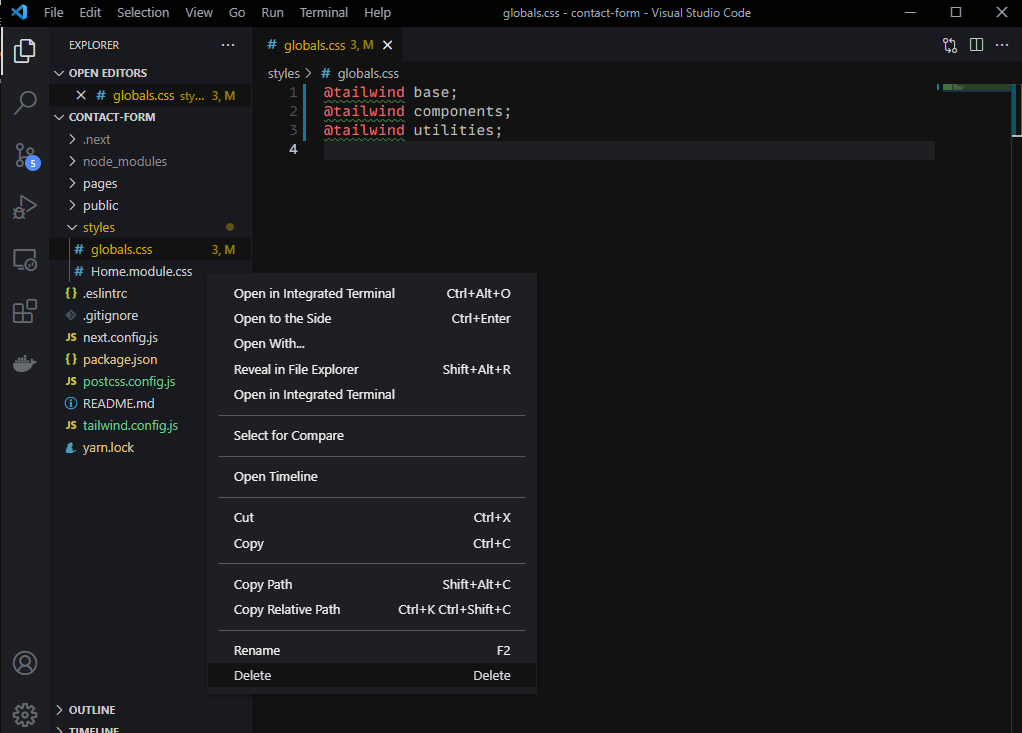
- Then, remove the Home.module.css. This will break our application and we will fix it later.
- Open the index.js inside the pages directory. Remove these line:
import Image from "next/image";
import styles from '../styles/Home.module.css'
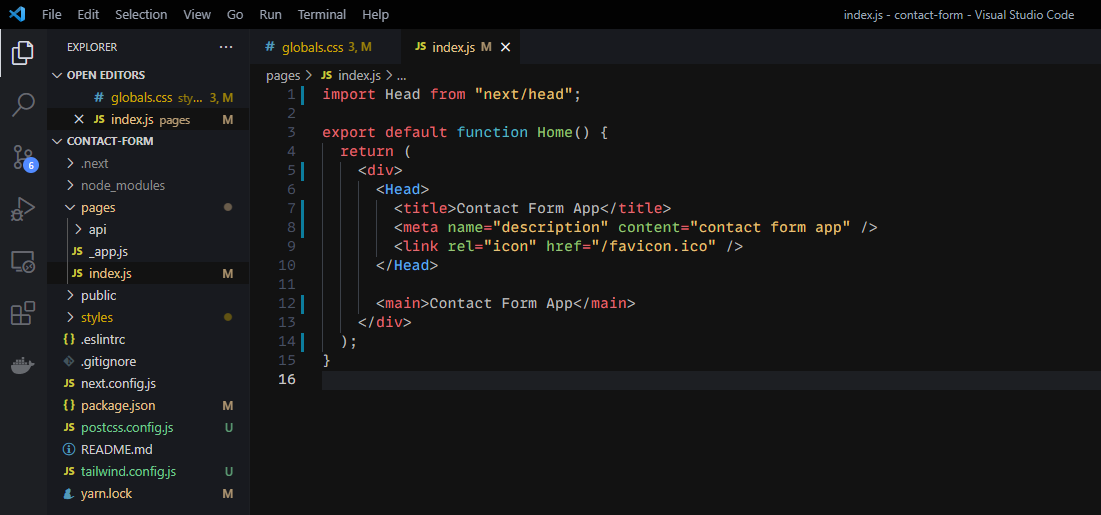
- Replace the entire div element with this:
<div>
  <Head>
    <title>Contact Form App</title>
    <meta name="description" content="contact form app" />
    <link rel="icon" href="/favicon.ico" />
    </Head>

    <main>Contact Form App</main>
</div>
- Now, your index.js file will look like this.
Setup Sendgrid account
- Now, let's setup sendgrid account to use their api to send mail to our email. Go to SendGrid official website.
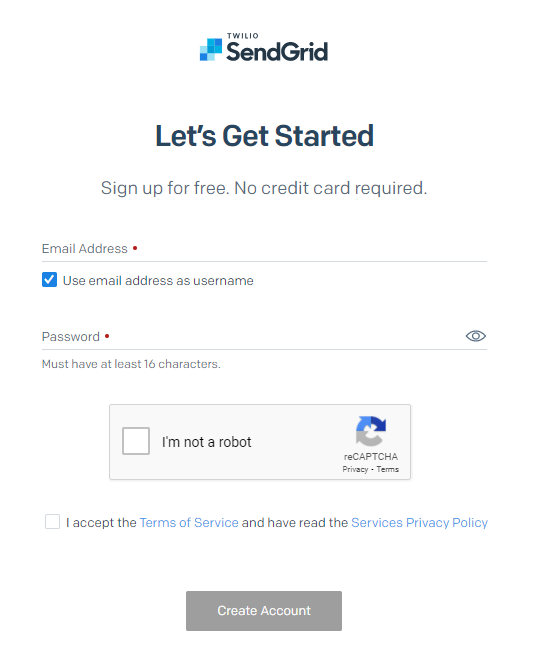
2.Click on the button Start for free and sign up using your email.
-
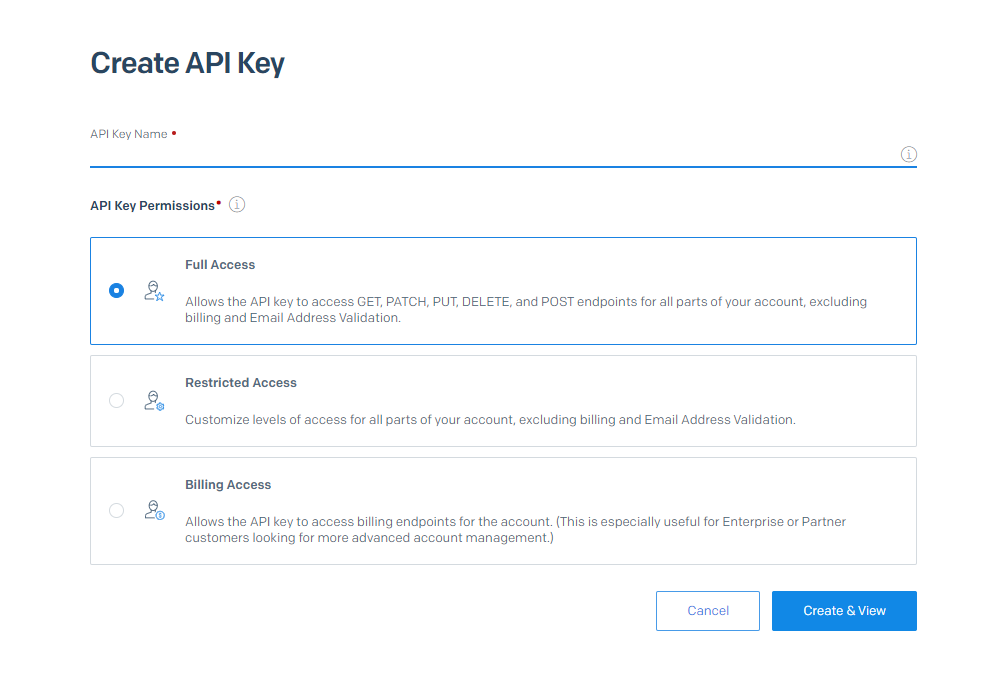
Sign into your account. Click API Keys under the Settings tab. Click on Create API key.
-
Enter your API key name and select Full Access.
-
Once your API key created, copy the key.
-
Go into contact-form directory and create a file called .env.local. Paste your API key with a variable SENDGRID_API_KEY. Save your file.
SENDGRID_API_KEY=pasteyourapikeyhere
Contact Form
- Let's create our contact form. Open your index.js file. Replace your main element with this code:
<main className="max-w-screen-md mx-auto">
  <div className="space-y-10 mx-5 mt-20">
    <h2 className="text-6xl lg:text-8xl font-medium tracking-tighter">
      contact
    </h2>
    <form className="w-full flex flex-col lg:max-w-4xl space-y-10">
      <input
        placeholder="Your name"
        className="bg-blue-50 p-5 focus:outline-none border-l-4 border-blue-500"
        required
      />
      <input
        placeholder="Your Email"
        className="bg-blue-50 p-5 focus:outline-none border-l-4 border-blue-500"
        required
      />
      <textarea
        placeholder="Message"
        className="bg-blue-50 p-5 focus:outline-none border-l-4 border-blue-500 min-h-[300px] lg:min-w-full"
        required
      />
      <button className="bg-blue-700 w-min px-10 py-4 rounded-md text-white hover:bg-blue-800 focus:outline-none">
        Send
      </button>
    </form>
  </div>
</main>
-
As you can see from the code above, we have created our form with a button using TailwindCSS styling. Our form is not function yet at this point.
-
Now let's make our contact form works. Let's import useState into our code.
import { useState } from "react";
- Inside our Home component enter the code below.
const [name, setName] = useState("");
const [email, setEmail] = useState("");
const [message, setMessage] = useState("");
- Inside our input and textarea element. We will include two atributes: value and onChange
- value - the value entered by user will be set into the state
- onChange - when user typing in input, it will update the state
- For each input and textarea,
# For name input
<input
  placeholder="Your name"
  className="bg-blue-50 p-5 focus:outline-none border-l-4 border-blue-500"
  value={name}
  onChange={(e) => setName(e.target.value)}
  required
/>

# For email input
<input
  placeholder="Your Email"
  className="bg-blue-50 p-5 focus:outline-none border-l-4 border-blue-500"
  value={email}
  onChange={(e) => setEmail(e.target.value)}
  required
/>

# For textarea - Message input
<textarea
  placeholder="Message"
  className="bg-blue-50 p-5 focus:outline-none border-l-4 border-blue-500 min-h-[300px] lg:min-w-full"
  value={message}
  onChange={(e) => setMessage(e.target.value)}
  required
/>
- Now, let's add onSubmit into our form so that the user can submit the form.
- onSubmit - User can submit using Enter keyboard and also by clicking the send button
- e.preventDefault() - This to prevent the page from refresh when user submit the form
- submitForm() - Function to handle the submit
<form
  className="flex flex-col lg:max-w-4xl space-y-10"
  onSubmit={(e) => {
    e.preventDefault();
    submitForm();
  }}
>
- So far your code will look like this.

- We will create submitForm() function.
async function submitForm() {
    const form = { name, email, message };
    const json = JSON.stringify(form);

    await fetch("/api/sendMail", {
      method: "post",
      body: json,
    });

    setName("");
    setEmail("");
    setMessage("");
  }
const form = { name, email, message };
- Set the value of input into form variable
const json = JSON.stringify(form);
- Convert the form data into JSON format
await fetch("/api/sendMail", {
  method: "post",
  body: json,
  });
- Send our data into sendMail api using POST method and body with our data
setName("");
setEmail("");
setMessage("");
- Clear input field
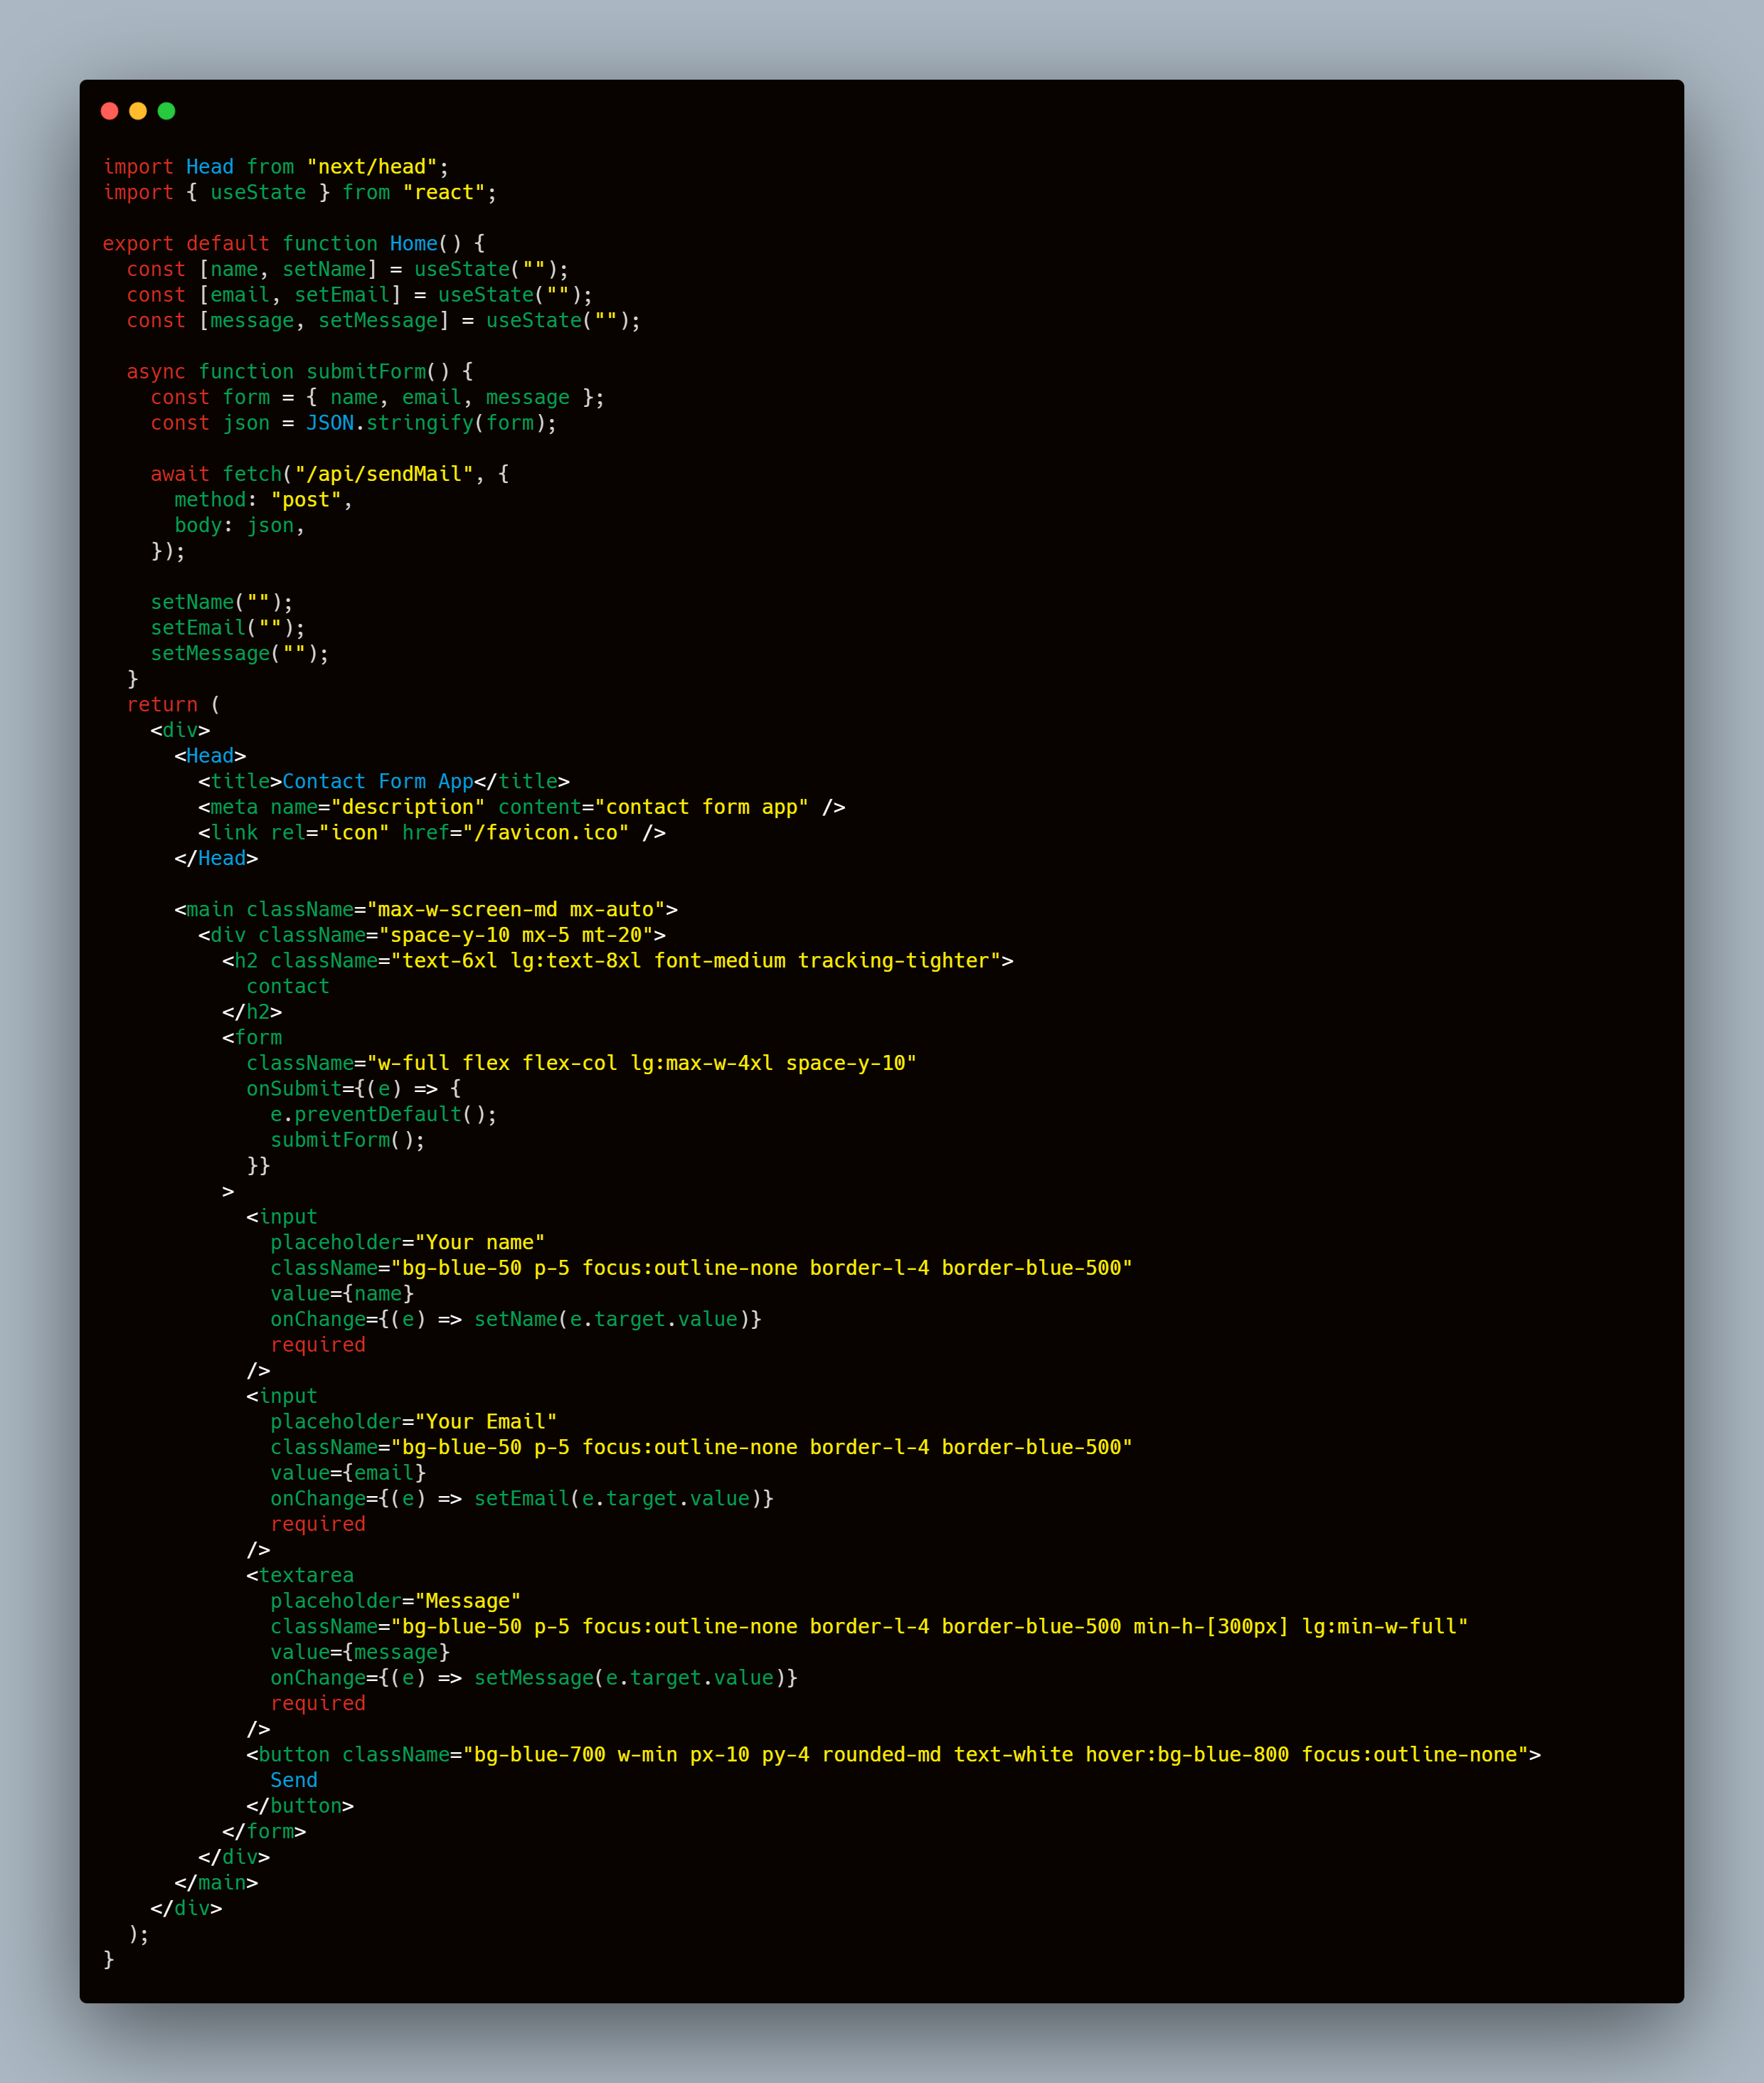
- Your code will look like this now.
Handling API Route for sendMail
-
Create a file sendMail.js inside pages/api directory.
-
Open the sendMail.js and import sendgrid package. Before that, install the sendgrid package.
npm install @sendgrid/mail
# or
yarn add @sendgrid/mail
import mail from "@sendgrid/mail";
- Then, we need to use the SENDGRID_API_KEY which we have created before. We need to loaded the api key from the process.env.
mail.setApiKey(process.env.SENDGRID_API_KEY);
- Create an async function to handle the route.
export default async function handler(req, res) {}
- Inside the function, we need to parse the data that comes from the request.
const body = JSON.parse(req.body);
- Next, we need to set a few configurations required for the sendgrid to the the contact data to our email. Replace youremailaddress with your real email address and yourname with your name.
const data = {
    personalizations: [
      {
        to: [
          {
            email: "youremailadress",
            name: "yourname",
          },
        ],
      },
    ],
    from: {
      email: "youremailadress",
      name: "yourname",
    },

    subject: `You have a new email from ${body.email}`,
    content: [
      {
        type: "text/html",
        value: `<p>Hello yourname!</p><p>You have a new message from a client. Here's the detail:</p><p>Name: ${body.name}</p><p>Email: ${body.email}</p><p>Message: ${body.message}</p>`,
      },
    ],
  };
- Once configured, we need to send the data to the sendgrid. We will use await since we are using async function.
await mail
    .send(data)
    .then(() => {
      console.log("Email sent");
    })
    .catch((error) => {
      console.error(error);
    });

  res.status(200).json({ status: "Ok" });
You can read more about this from the SendGrid API.
- Now your code will look like this overall.
Final
Now we have completed our contact-form. Let's test our contact form now. Make sure that you check your email.
I think that's all for this tutorial. If you have any problem with the code, please contact me.
Bonus
If you want to add toast notification once a user submitted the form, you can read this tutorial.